T001-V012 openings30 × 22.5 cm
Portrait pair (side by side)
Two portrait photo openings side by side. Choose a size below.
From $17.80
View this design 
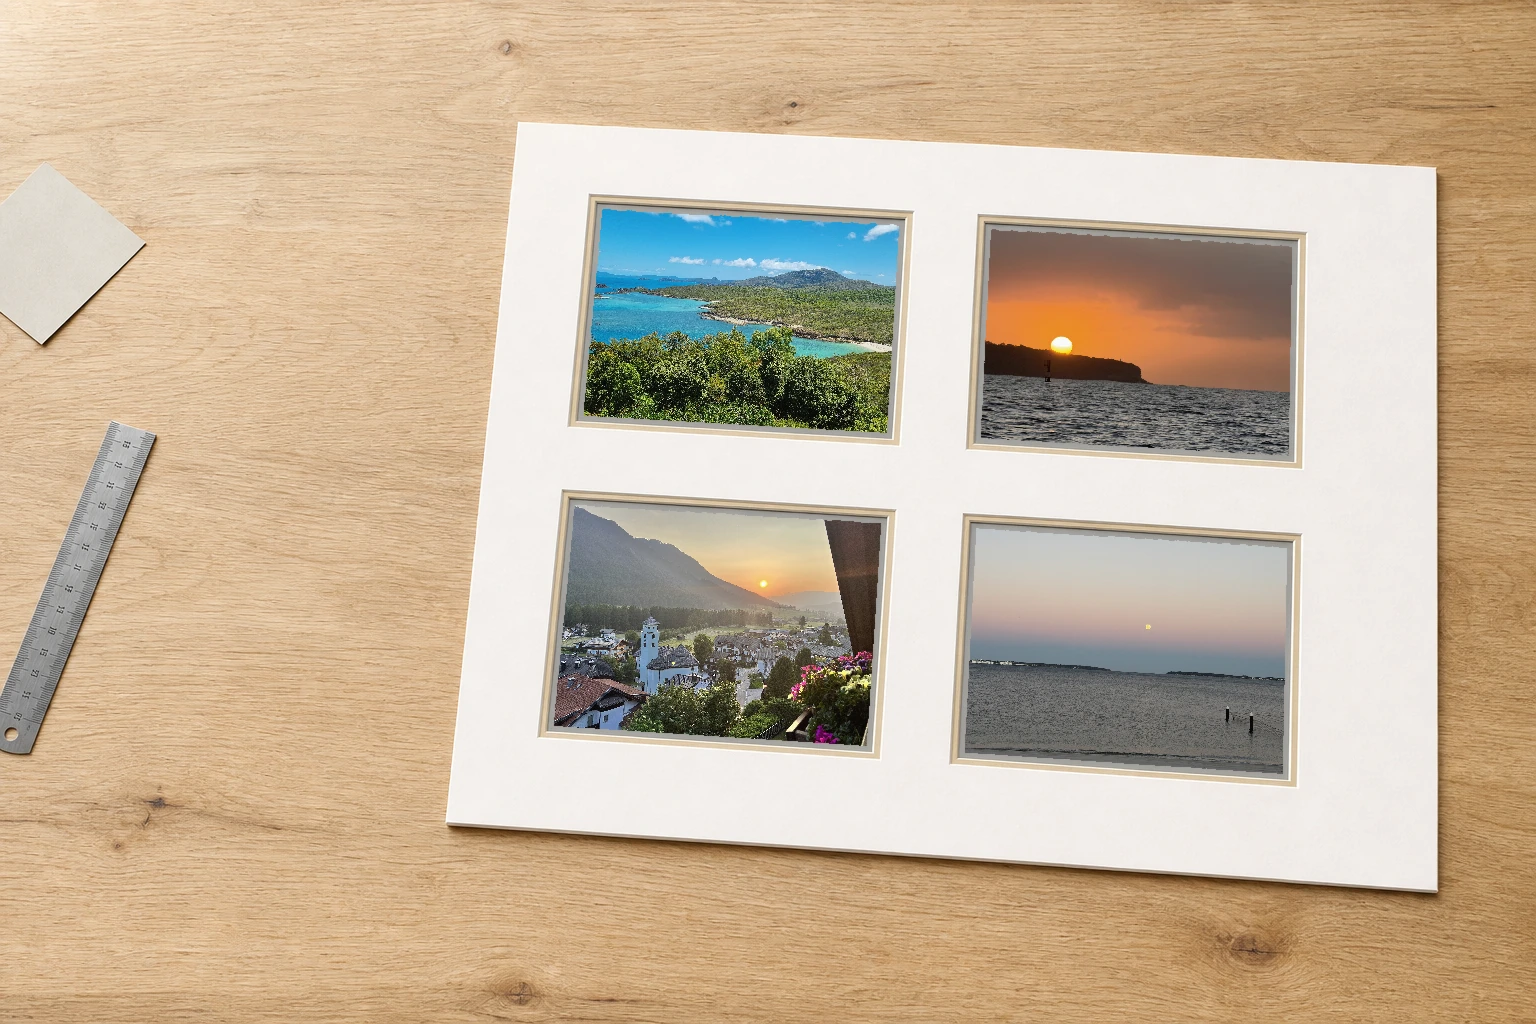
Custom multi-opening matboards
Create a made-to-size collage matboard, also called a multi-opening photo mount, for a frame you already own or a DIY project. Control the outside size, every opening, and the matboard colour.
Choose a starting design
Compare balanced grids and feature-photo arrangements before you measure. Each idea can help you decide how many photos to include and which image should lead the display.
Two portrait photo openings side by side. Choose a size below.
Two stacked landscape photo openings. Choose a size below.
Three portrait photo openings side by side. Choose a size below.
Three stacked landscape photo openings. Choose a size below.
Two 6 × 4in photos (15.2 × 10.2cm) on the right. Choose the main photo size on the left.
Four portrait photo openings in a 2 × 2 grid. Choose a size below.
Four landscape photo openings in a 2 × 2 grid. Choose a size below.
Four 4 × 4in photos (10.2 × 10.2cm each) in a 2 × 2 grid.
10 × 8in photo (25.4 × 20.3cm) above three 4 × 6in photos (10.2 × 15.2cm each).
Four 6 × 4in photos (15.2 × 10.2cm) on the right. Choose the main photo size on the left.
Six landscape photo openings in two rows of three. Choose a size below.
Six portrait photo openings in three rows of two. Choose a size below.
Nine square photo openings in a 3 × 3 grid. Choose a size below.
One centred opening for an A4 document (21 × 29.7cm).
Two A4 document openings (21 × 29.7cm each), side by side.
A4 document (21 × 29.7cm) on the left, with two 6 × 4in photos (15.2 × 10.2cm each) stacked on the right.
Start from scratch
For a completely custom arrangement, enter the outside size you need, add and position each opening, then choose no frame when you want the custom-cut matboard on its own.
What you can create
A custom multi-opening matboard gives an existing frame a new purpose and lets you group photographs, prints, or achievements in one clean display.
Replace a tired or single-opening matboard with a new layout cut to the usable space inside a frame you already own.
Bring portraits from different years or generations together while a consistent matboard colour makes the collection feel connected.
Arrange yearly school photos, team portraits, certificates, medals, or achievement details within one organised layout.
Start with a precisely cut photo mount for a collection of art, travel prints, or photographs you plan to assemble into the frame yourself.
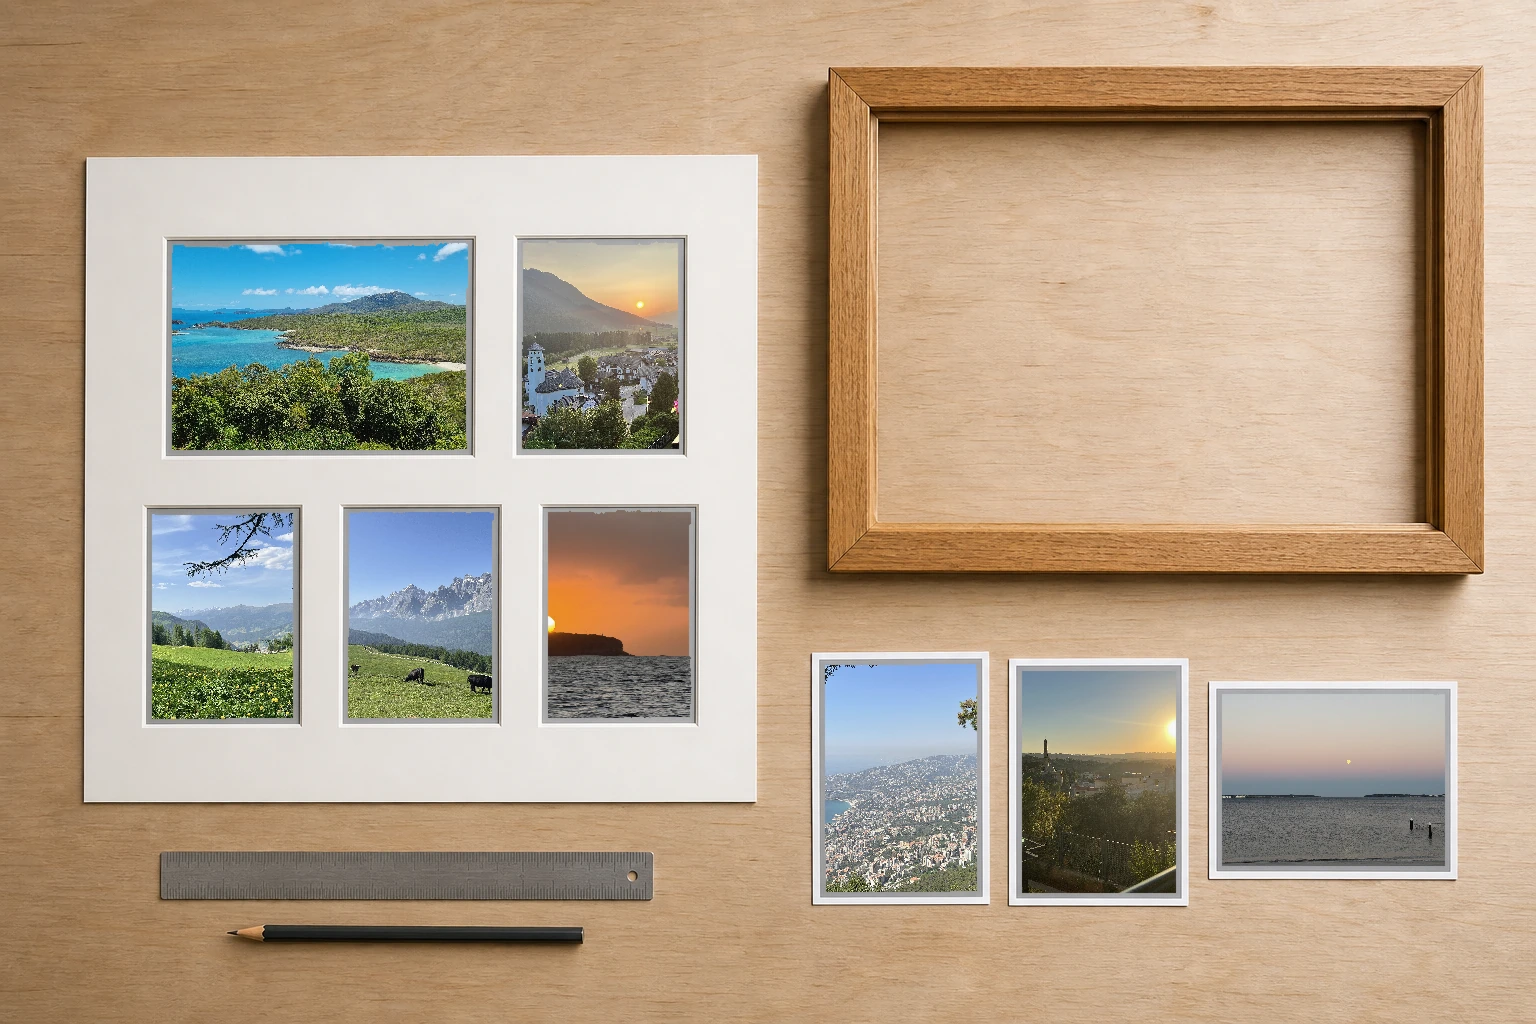
Designed for an existing frame
Measure the usable internal space inside your frame, then decide which photos belong together. The outside matboard size controls the fit; each opening size controls how much of its photograph remains visible.
Make it yours
The outside dimensions establish the fit. The opening sizes, positions, and image overlap determine what you see and how every print is supported.
Measure the frame's internal rebate or usable space, not its external edge, and check the width and height in more than one place.
Set the exact area you want to see. The designer adds a small overlap around the opening so the print can sit securely behind the matboard.
Combine portrait and landscape rectangles with squares, circles, or ovals, then align and space them as one balanced layout.
Choose the top matboard colour and add an optional second layer when you want a narrow inner border around every opening.
Upload selected photos for printing or leave the openings blank when you already have the prints for your DIY assembly.
How it works
Measure the frame first, then work from the visible part of each photograph or print.
Remove the old contents if needed, measure the internal space available for the matboard, and check that the frame is square and usable.
Measure the area you want visible on each print, add the openings, and arrange them with enough matboard between them.
Choose a top matboard and optional second layer, select no frame for a matboard-only order, then confirm every dimension.
Frameshop cuts the matboard to your confirmed design and delivers it for you to add the photos and assemble in your own frame.
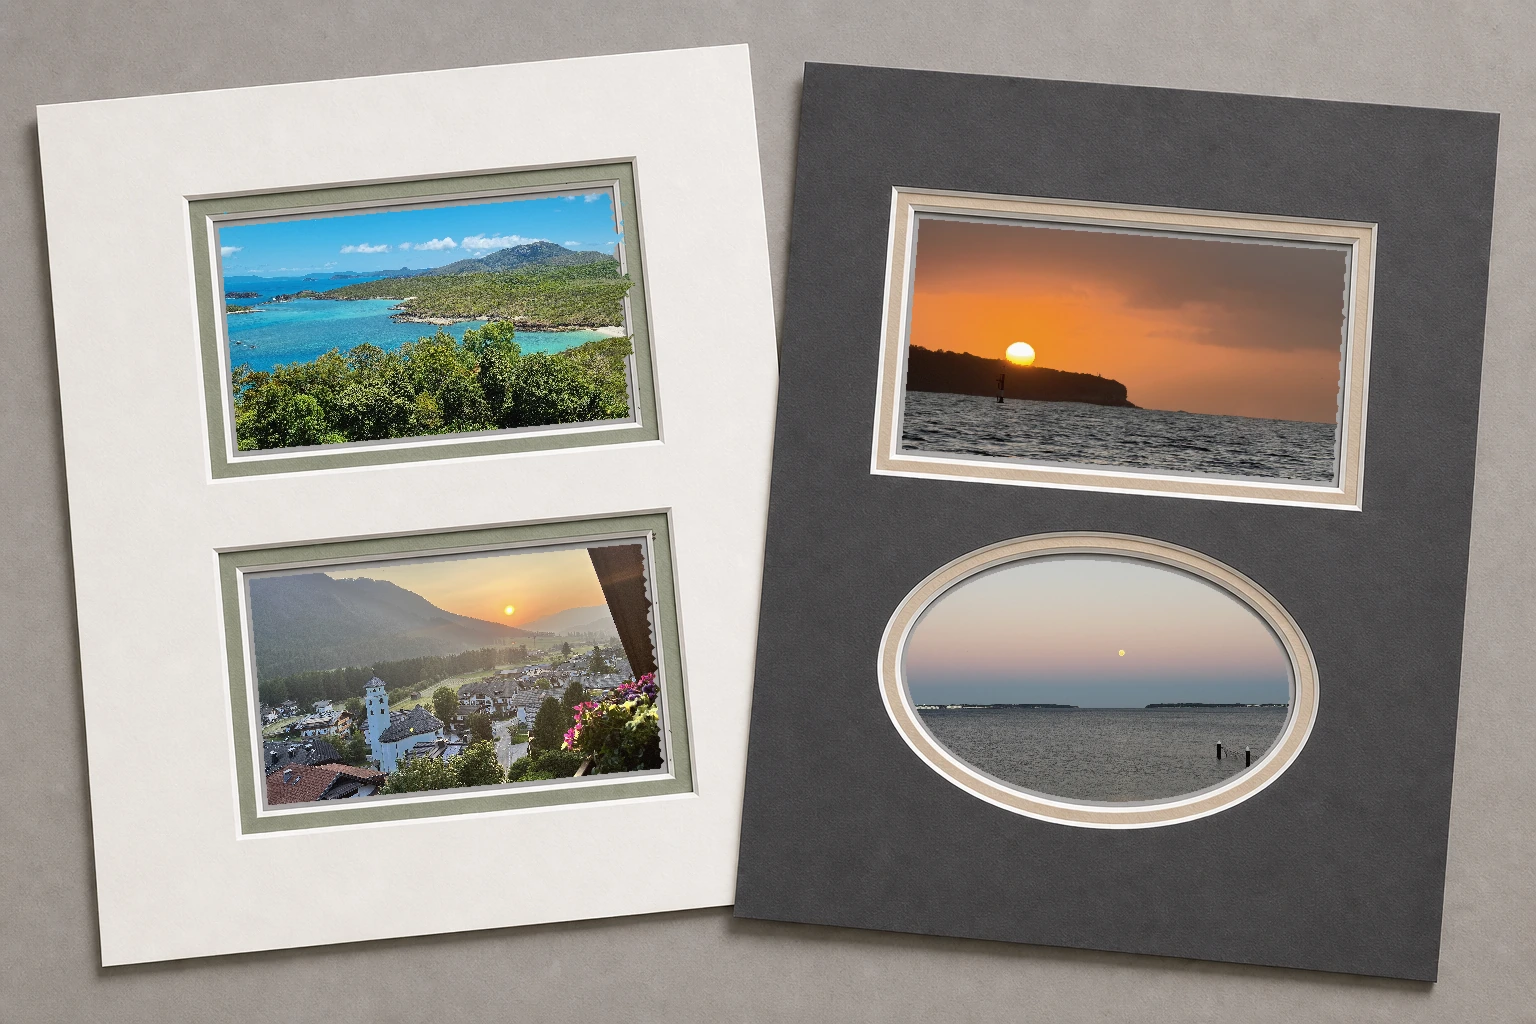
Colour, spacing, and layers
A quiet neutral can connect photographs with different colours and lighting. Add a second matboard layer for a narrow contrasting reveal, or mix opening shapes to give a portrait, artwork, or milestone detail more character.
Optional Frameshop photo printing
Optional Frameshop photo printing is available for selected uploads. Check the crop within each opening, choose from the available paper finishes, and leave other openings blank for prints you already own.
Made-to-order reassurance
Careful frame measurements help the finished matboard sit neatly, while image overlap keeps each photo supported behind its opening.
production
Our team checks the practical details before cutting the outside edge and every opening to the design you approve.
delivery
Your matboard is packed to help protect its surface and corners in transit.
measuring
Use the available space behind the frame lip and check your measurements in more than one position.
support
Frameshop can help clarify outside size, opening size, and image overlap before you finalise the design.
Helpful answers
Measured for your frame and photos
Open the online collage designer, enter the measurements from your existing frame, and build the multi-opening layout you need.