T013-V011 opening17 × 22 cm
Single portrait object
One centred portrait object opening. Choose a size below.
From $65.10
View this design 
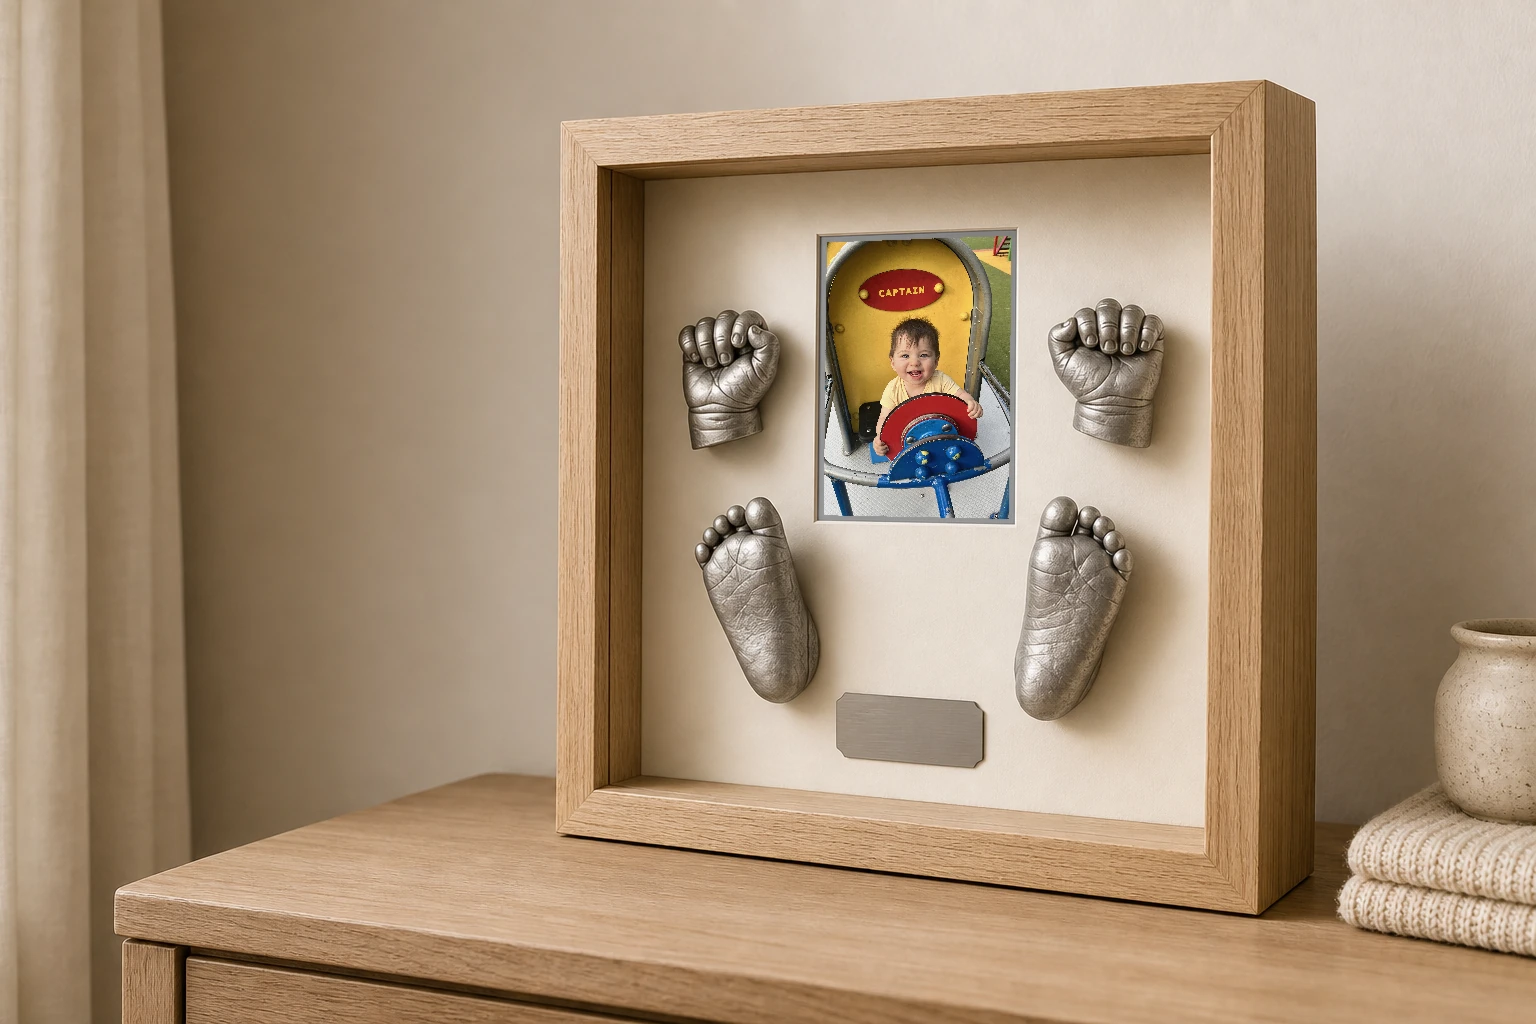
Deep frames for self-fitted keepsakes
Create a deep, made-to-order frame around the size and clearance of your casting. Add a baby portrait, name or date, choose the frame and background colours, then fit your own keepsakes at home.
Choose a starting design
Compare ways to give the casting pride of place beside a baby portrait, name, date, hospital band, or other lightweight keepsake detail.
One centred portrait object opening. Choose a size below.
One centred landscape object opening. Choose a size below.
One centred 26 × 26cm object opening.
5 × 7in photo (12.7 × 17.8cm) on the left. Choose the object opening size on the right.
5 × 7in photo (12.7 × 17.8cm) on the left; 26 × 26cm object opening on the right.
Photo opening on the left; object opening on the right. Choose both sizes below.
8 × 6in object opening (20.3 × 15.2cm) above a 7 × 5in photo (17.8 × 12.7cm).
26 × 26cm object opening above a 7 × 5in photo (17.8 × 12.7cm).
8 × 6in photo (20.3 × 15.2cm) above a 19.7 × 29cm object opening.
Two 16 × 22cm object openings, with a 4 × 6in photo (10.2 × 15.2cm) between them.
22 × 16cm object openings top and bottom, with a 6 × 4in photo (15.2 × 10.2cm) between them.
26 × 26cm object opening on the left; two 7 × 5in photos (17.8 × 12.7cm each) stacked on the right.
A4 document (21 × 29.7cm) on the left; 7 × 5in photo (17.8 × 12.7cm) top right; 23 × 15cm object opening bottom right.
26 × 26cm object opening on the left; three 6 × 4in photos (15.2 × 10.2cm each) stacked on the right.
26 × 26cm object opening on the left; four 6 × 4in photos (15.2 × 10.2cm each) in a 2 × 2 grid on the right.
6 × 8in object opening (15.2 × 20.3cm) in the centre, with two 4 × 6in photos (10.2 × 15.2cm each) on each side.
Start from scratch
Build the front matboard with photo, plaque, or cut-out text openings, then add a shadow-box area for the casting and confirm the clearance it needs. Empty openings represent the items you will fit yourself after delivery.
What you can create
Start with the hand or foot casting, then add the few details that make the finished display personal to your family.
Give a tiny hand, foot, or paired casting a protected display with enough visual space for its shape and detail to remain the focus.
Pair the dimensional keepsake with a newborn portrait, first smile, or family photo to place that small moment in its story.
Add a hospital band, short cut-out name or date, or a plaque in the available finishes without crowding the casting.
Balance two casting areas or combine keepsakes from siblings with individual photos and simple identifying details.
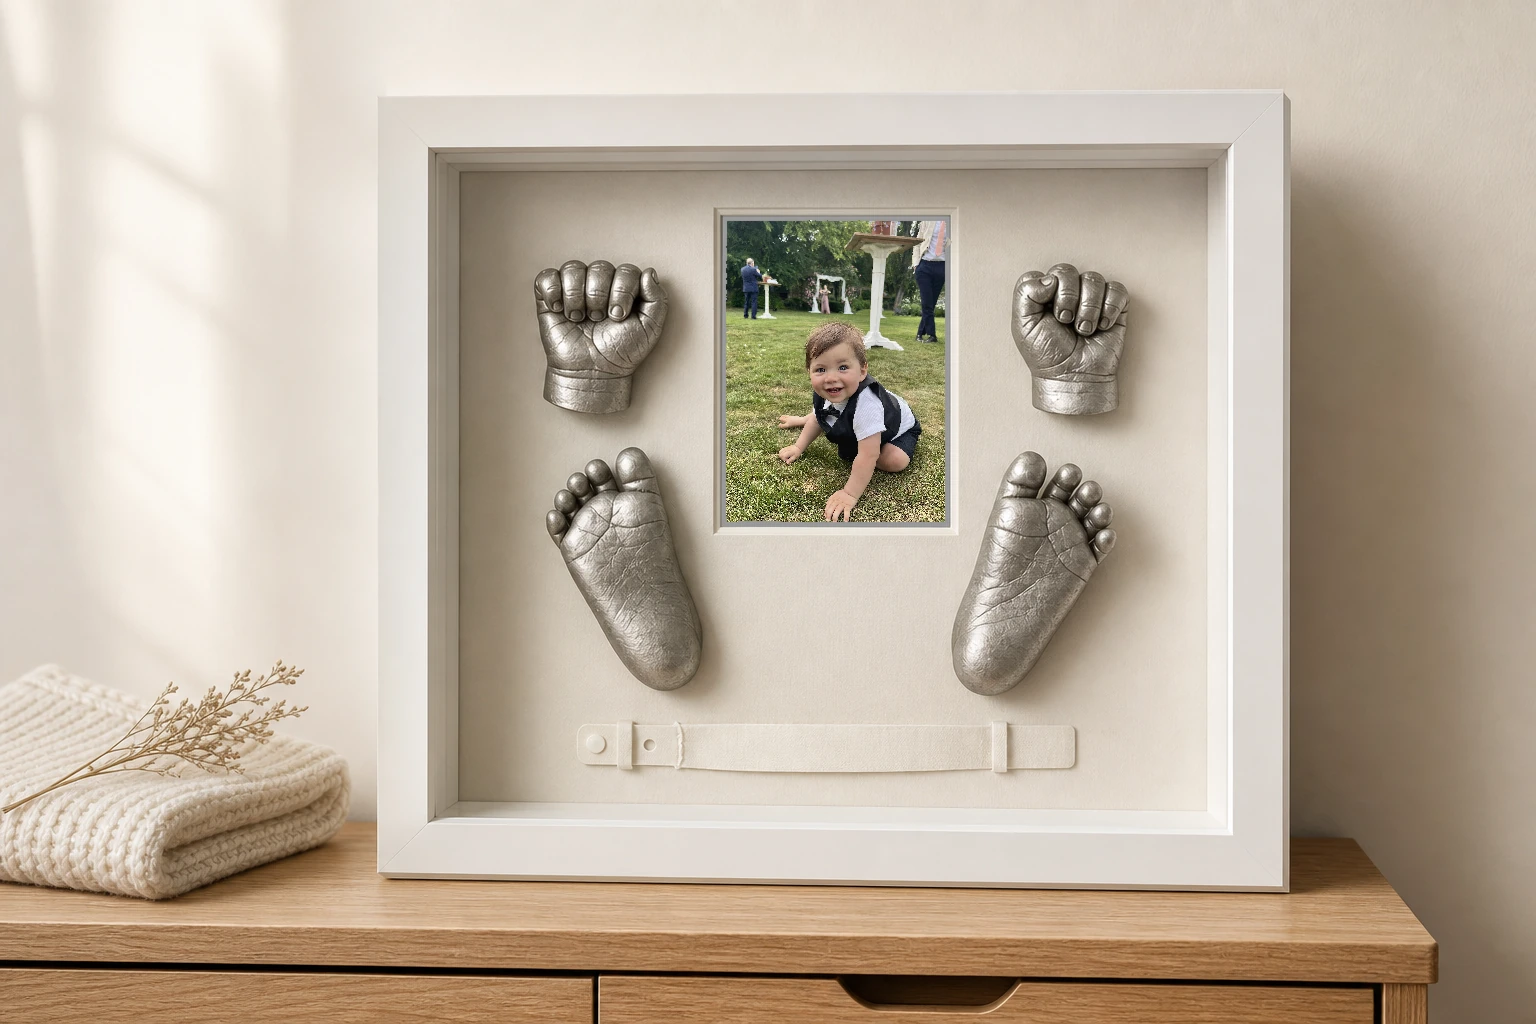
A finished keepsake for the home
A calm base matboard and generous spacing keep the baby hand or foot casting as the focus. A separate opening in the front matboard can hold a portrait, while a name, date, or hospital band completes the story.
Make it yours
Measure the casting first, then design the object area, photo openings, and materials around the space it needs.
Size the shadow-box area around the casting and confirm there is enough clearance between its deepest point and the glazing.
Use the front matboard for photo and text openings, then choose a base matboard colour behind the casting and keepsakes.
Upload a portrait, move and zoom it within the opening, and add printing when you want the photo supplied with the frame.
Personalise the design with a short cut-out name or date, or a plaque in one of the available finishes.
Choose the frame style and review the available glazing and backing while planning how you will secure the keepsake at home.
How it works
Plan around the actual casting, especially its deepest point, weight, and the way you intend to secure it.
Record its width, height, and deepest point, then allow visual space around the outline so it does not feel crowded.
Add a shadow-box area for the casting, confirm the clearance it requires, then add any photo, text, or plaque openings in the front matboard.
Choose the frame, matboards, glazing, backing, and printing, then check every measurement and the finished preview.
Your custom frame arrives ready for customer self-fitting, so you can carefully position and secure your own casting and keepsakes at home.
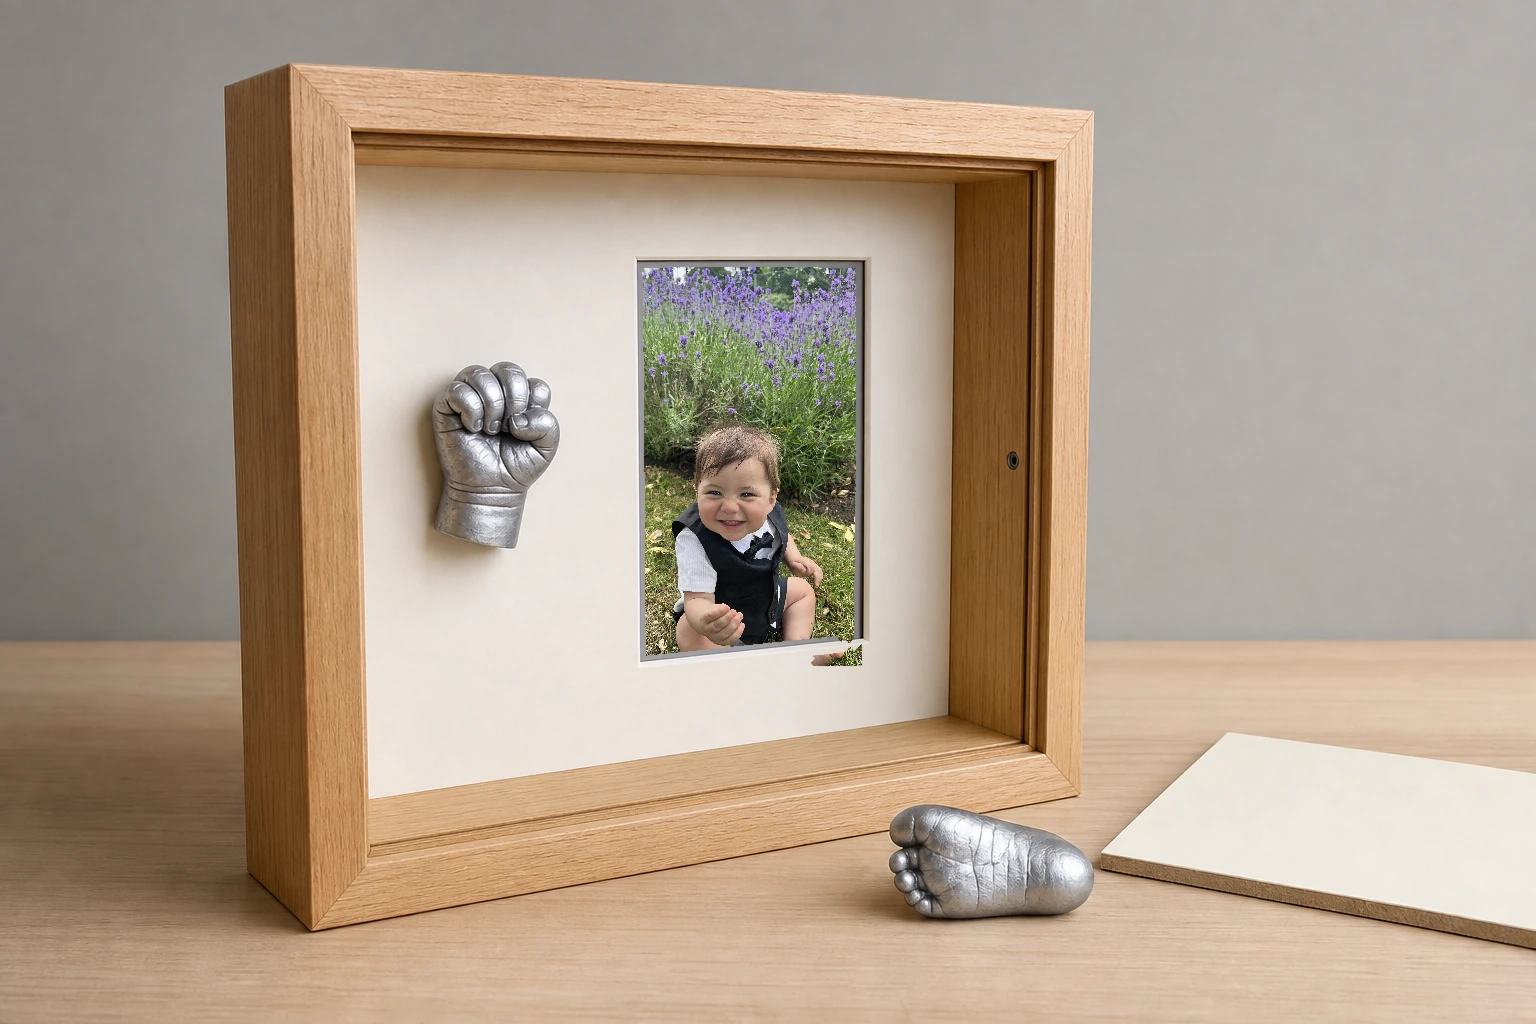
Plan before fitting at home
The casting's deepest point determines the clearance it needs behind the glazing. Your custom frame arrives ready for customer self-fitting, so measure the real object and contact Frameshop before ordering if it is unusual.
Optional Frameshop photo printing
Optional Frameshop photo printing is available for a baby portrait or detail image you upload. Reposition and zoom the crop in its opening, then choose from the available paper finishes before ordering.
Made-to-order reassurance
Frameshop makes the deep frame to your confirmed design; your casting stays with you, and you remain in control of fitting every personal item.
production
Our team reviews the practical details and will contact you if an issue needs resolving before the frame is made.
delivery
The completed frame comes to you so you can position and secure your own keepsake.
measuring
Measure the keepsake's deepest point and allow clearance from the glazing.
support
Contact Frameshop if a keepsake is heavy, fragile, very deep, or difficult to secure safely.
Helpful answers
Designed around the keepsake
Measure the baby casting first, then use the online collage designer to build the object area, photo layout, and personalised details around it.